In the past couple of years, Revit has made great progress with its 3d modeling tools. However, even though Revit is awesome, some forms might be much easier to create and manipulate in Rhino during the design development stage of your project and then later imported into Revit for design finalization. The following is my process for exporting forms from Rhino and importing them into a Revit project.

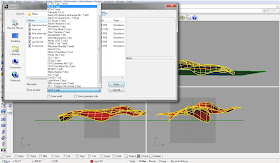
First, in Rhino, type “export” into the command line. Next, select the objects that you want to export and press the “Enter” button on your keyboard. This will bring up the Rhino “Export” menu. There are several file types that work with Revit, but my personal preference is to export as an ACIS(*.sat) file.
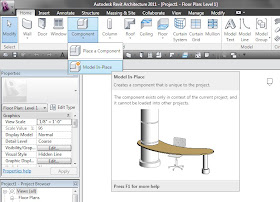
Now it’s time to import the .sat file into Revit. First, select “Model In-Place” from the Component drop down icon.

Next, you will be asked to select the Family Category and Parameters; you MUST select Mass. Now you are in the Mass Editor. You now need to select “Import CAD” from the Insert tab on the ribbon. You can now navigate to the .sat file that you created earlier and click “Open”. NOTE: You might have to select Feet, in the import units drop down, before clicking “Open”, if your file does not import at the correct scale. Now click “Finish Mass” on the right side of the ribbon. NOTE: You will have to make masses visible, by selecting “Show Mass” in the Massing and Site tab on the ribbon.

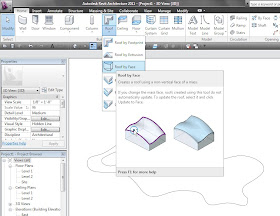
The mass I imported in the example is intended to be a roof, so in order to make the mass a roof, I will select the “Roof by Face” option, under the Roof icon.
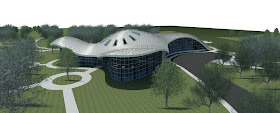
Then, simply click on the mass and then click “Create Roof”. DONE.

No comments:
Post a Comment