This spring
break was much less exciting than many of my classmates. I did not leave the
country, lay on the beach, climb a mountain or jump off of one. My most daring
move was to not look at my thesis for five whole days! Instead I took the
opportunity to work on some other projects. Focusing particularly on my
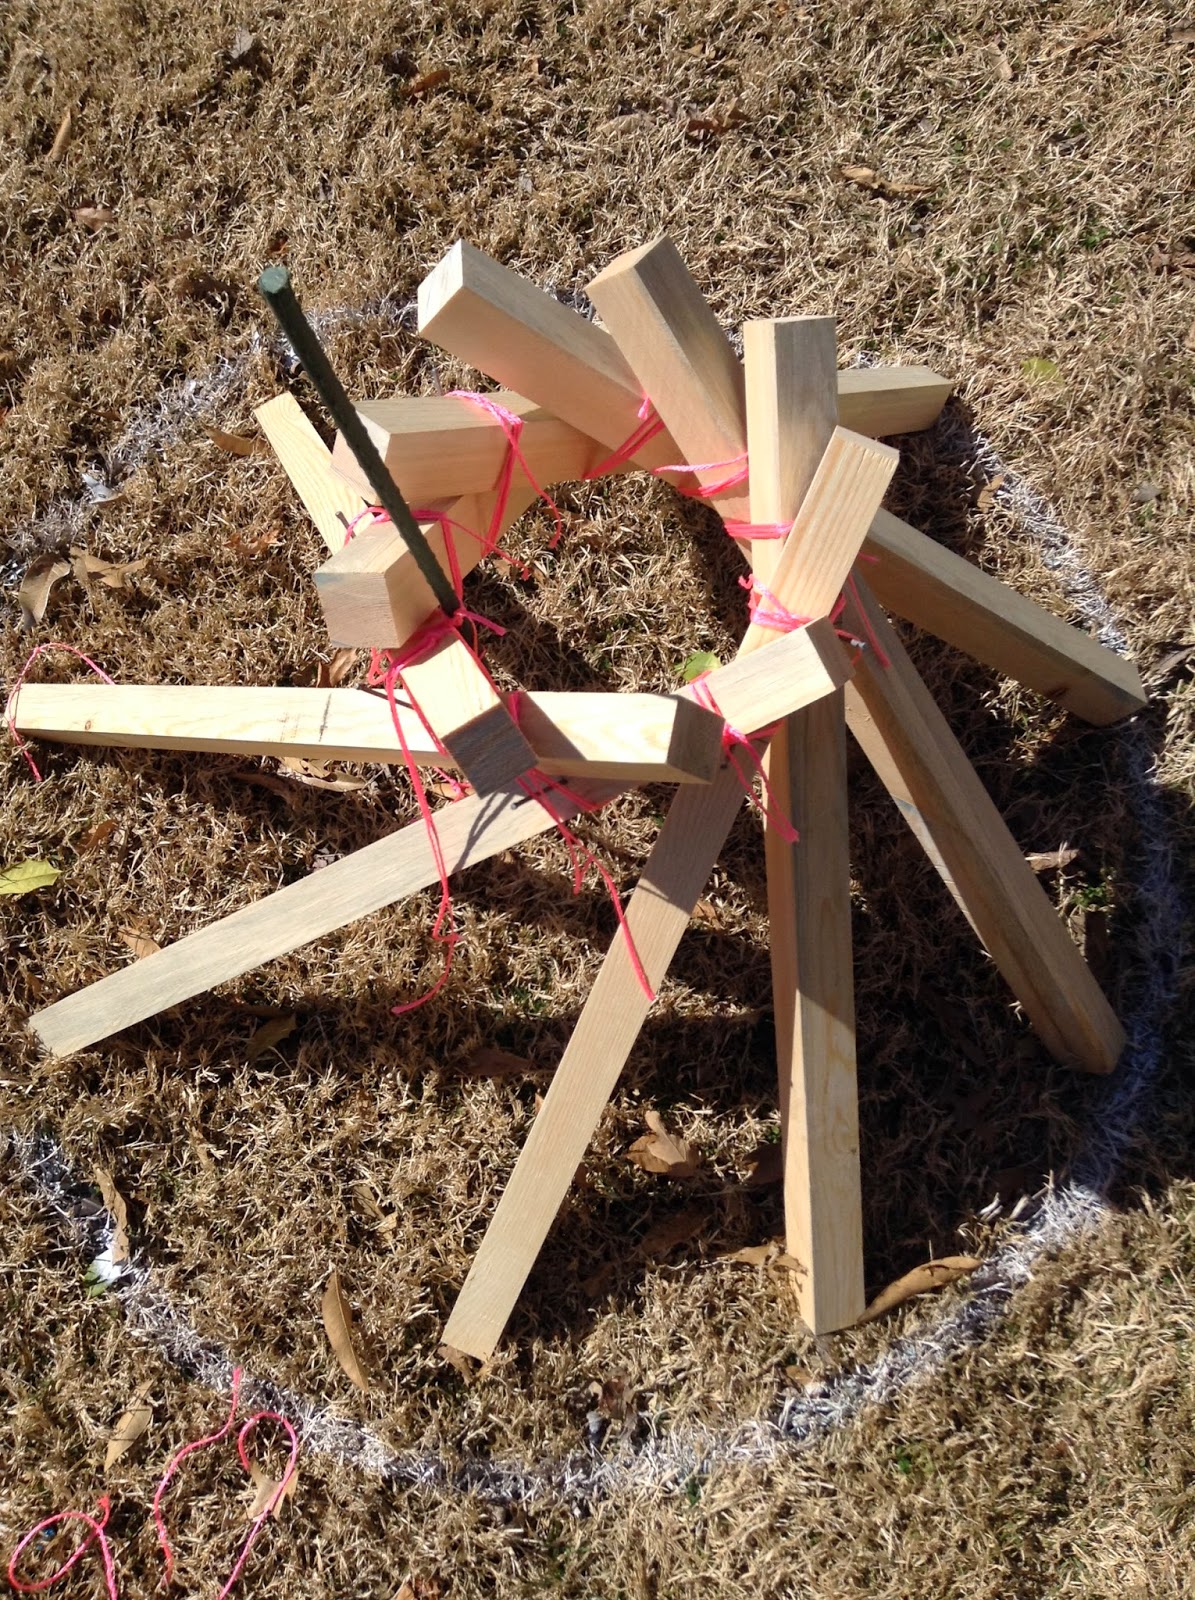
non-western history project and trying to get a handle on my furniture design
project. For my history project I chose to build a small model of a reciprocal
frame.

http://i1.wp.com/farm4.static.flickr.com/3015/2868726577_7760bd760f.jpg?resize=500%2C375
The
reciprocal frame has a fuzzy history but can recently be seen making a revival in
eco-communities. I have seen this sort of roof most often seated on posts with
straw bale/cob infill. The roof has unique properties that allow it to not need
a center support. It is also very adapt to ameba shaped floor plans. The
reciprocal frame relies on a team work. Each member of the roof structure rests
on its neighboring member all wrapping around so that the last piece rests on
the first one. I saw this structure
first in one of Lloyd Kahn’s book that discusses vernacular architecture.
I
found a good reference book by Olga Popovic Larsen that goes into great detail
about the math needed to calculate but in this exercise I didn’t want to do the
calculations. I wanted to feel the materials to mold them to be the creator and
not merely the designer. I knew I was going to start with a dimensional piece
of lumbar, and rip it down smaller to create something that I could carry
through the door ways. After I did a rough layout of my pieces I established a
perimeter to roughly keep the build within and began to stack the members. I
quickly found that they were wanting to slide and twist so I had to place a
nail for them to rest on and secure them with pink sting while I continued to
build the revolving structure.

After I got the
structure settled where I wanted it I marked the overlapping areas and numbered
the boards to be able to put it back together later. Then I began to carve out
the notches. For simplicity sake I only cut a notch on the top side of the
members to allow myself more wiggle room to slide the pieces together. Because
this is the first time doing this I did not trust my accuracy. This was a very
good thing because every dry fit I did after this ended up being a little off
what I had originally put together. And I had to go back and re-notch the last
piece because it just wasn’t coming together correctly.
Finally it was time to begin
gluing. But after only two days of nice weather there was the threat of snow
and freezing temperatures again. So it seemed in the best interest to move the
project indoors and allow it to setup under more temperate conditions. With an
extra set of hands the final assembly and gluing went well. When the moment of truth came I was able to
move and transport the piece all the way back to Carbondale without any
mishaps. Now all I have to do is not step on it while it sits in my apartment
and I wait for the due date to arrive.

Also Check Out! The Year of Mud: Cob & Natural
Building Workshops (http://www.small-scale.net/yearofmud/2008/11/26/how-to-build-a-reciprocal-roof-frame/)


No comments:
Post a Comment